Creating Simple and Impressive GitHub Profile Readmes: A Guide
A simple tutorial on creating a simple but cool GitHub profile README


Table of contents
Prerequisites:
You must be familiar with Git and GitHub, and you must have had a GitHub account. If you don’t know how to set up a GitHub account, click here.
Basic Markdown knowledge is also necessary. If you don’t know Markdown, click here. It is pretty easy, and the basics can be learned in minutes.
Walk-through:
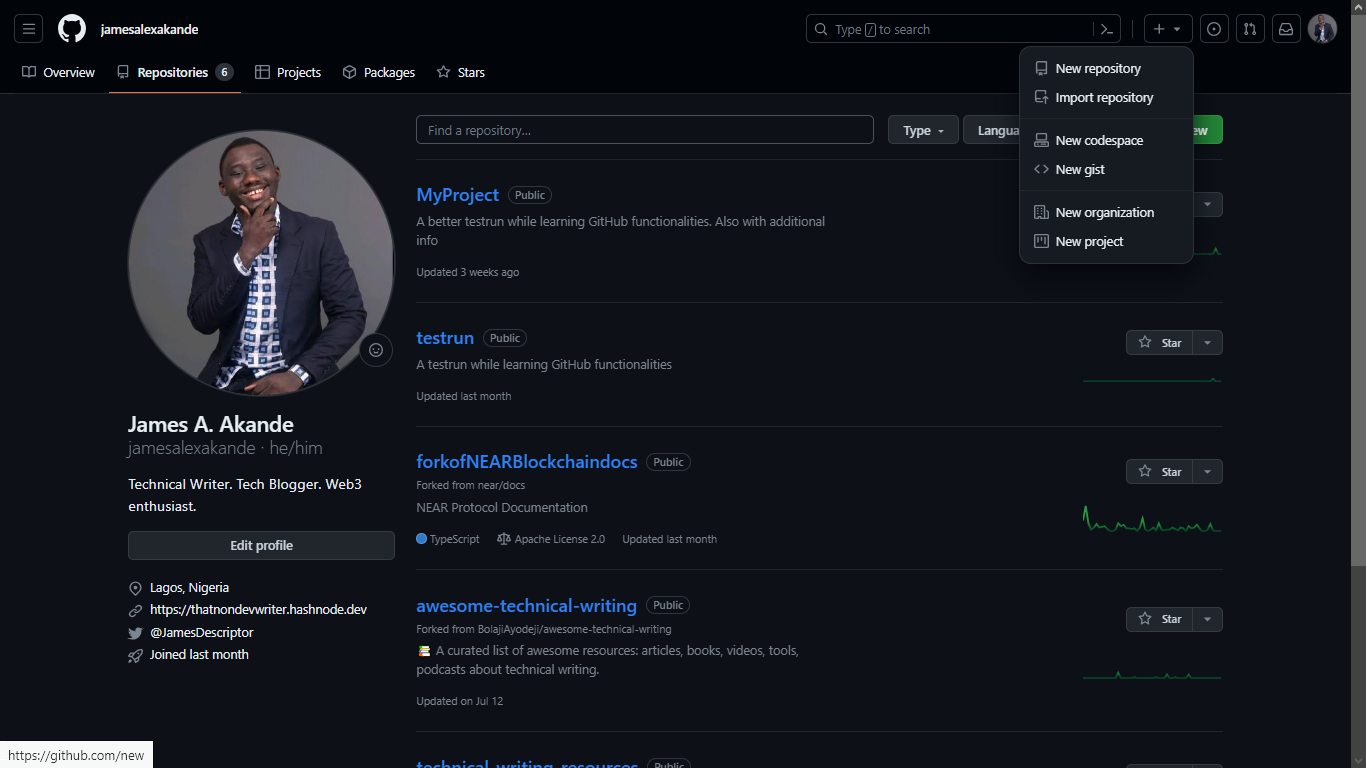
- First, log in to GitHub and click the + icon in the top right corner. Select new repository from the dropdown that appears.
Once done, make sure your new repository name is your GitHub username. GitHub will then display a message saying that that is a special repository which you can use to add a README.md file to your GitHub profile. You will then be told to make sure the repository is public, as well as given the option to initialize a README (see below)
In the description box, you can have a message like: ‘Hello world/everyone, this is my GitHub profile!’
Next, ensure the blue selector is on public.
Next, click the checkbox next to Add a README.md in the Initialize the repository with section
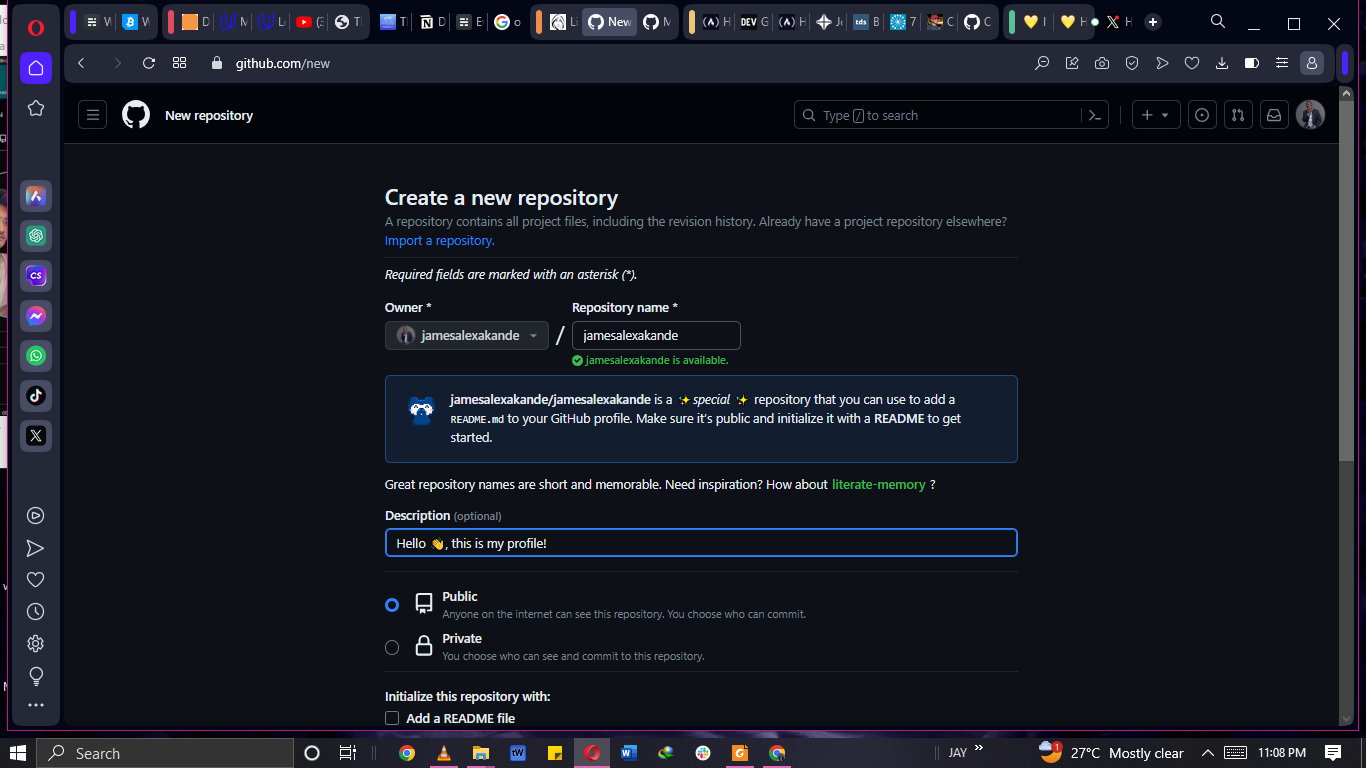
You can ignore the gitignore and license settings, and then click on create repository.
- Once done (see below), click on the README section and you will be greeted with a preset template you can use (also below)
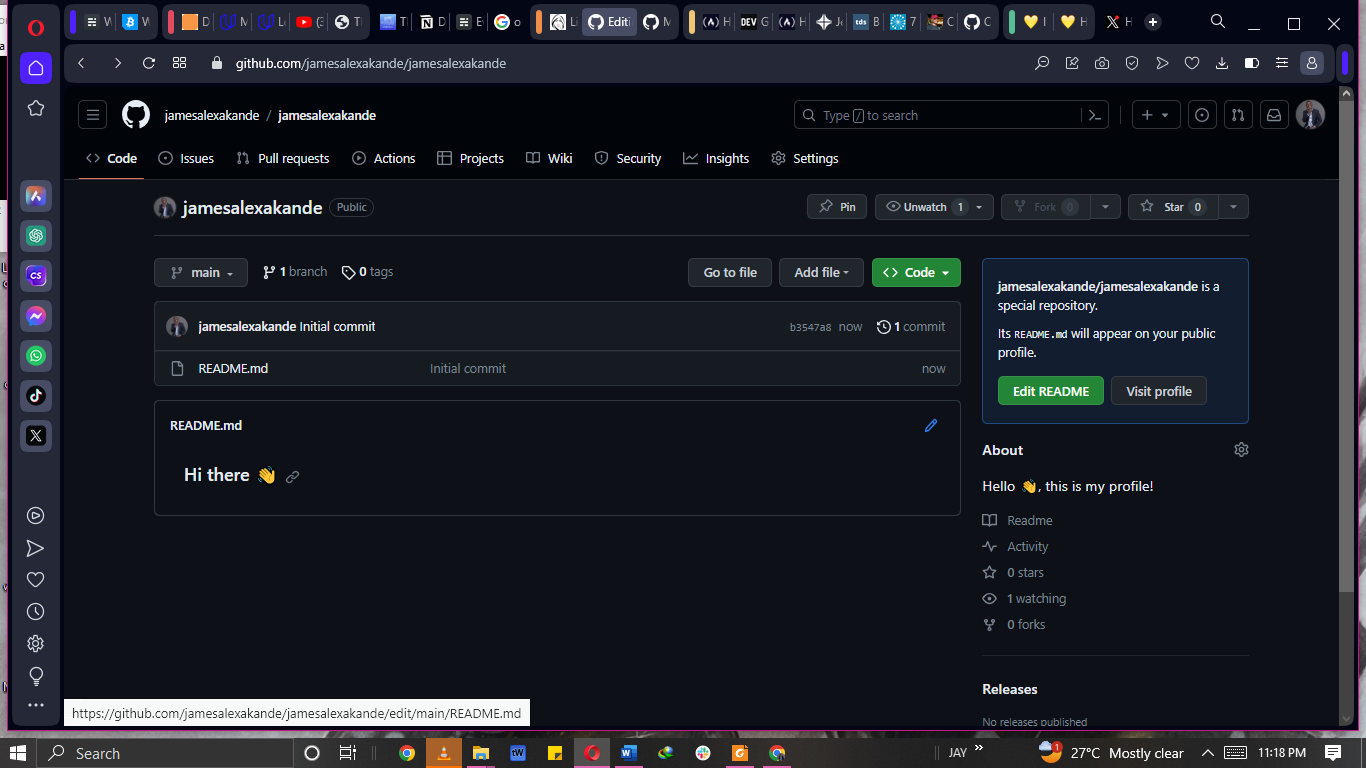
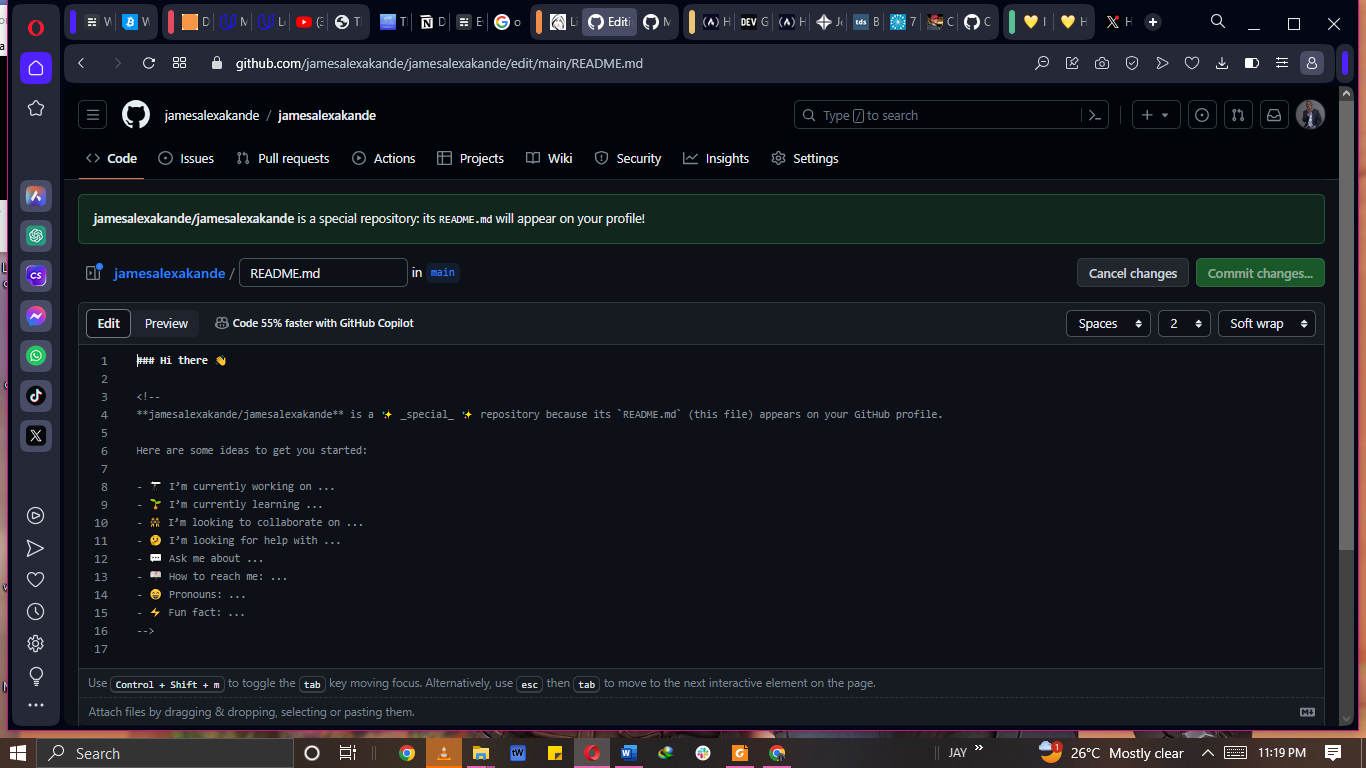
GitHub gives you a template out of the box, which you can then customize by adding your info, as well as other details you think other GitHub users (developers, writers/editors/maintainers, and recruiters)need to know. You can (and should!) also include your social links, links to your portfolio or blog (if you have one), as well as links to some sample articles.
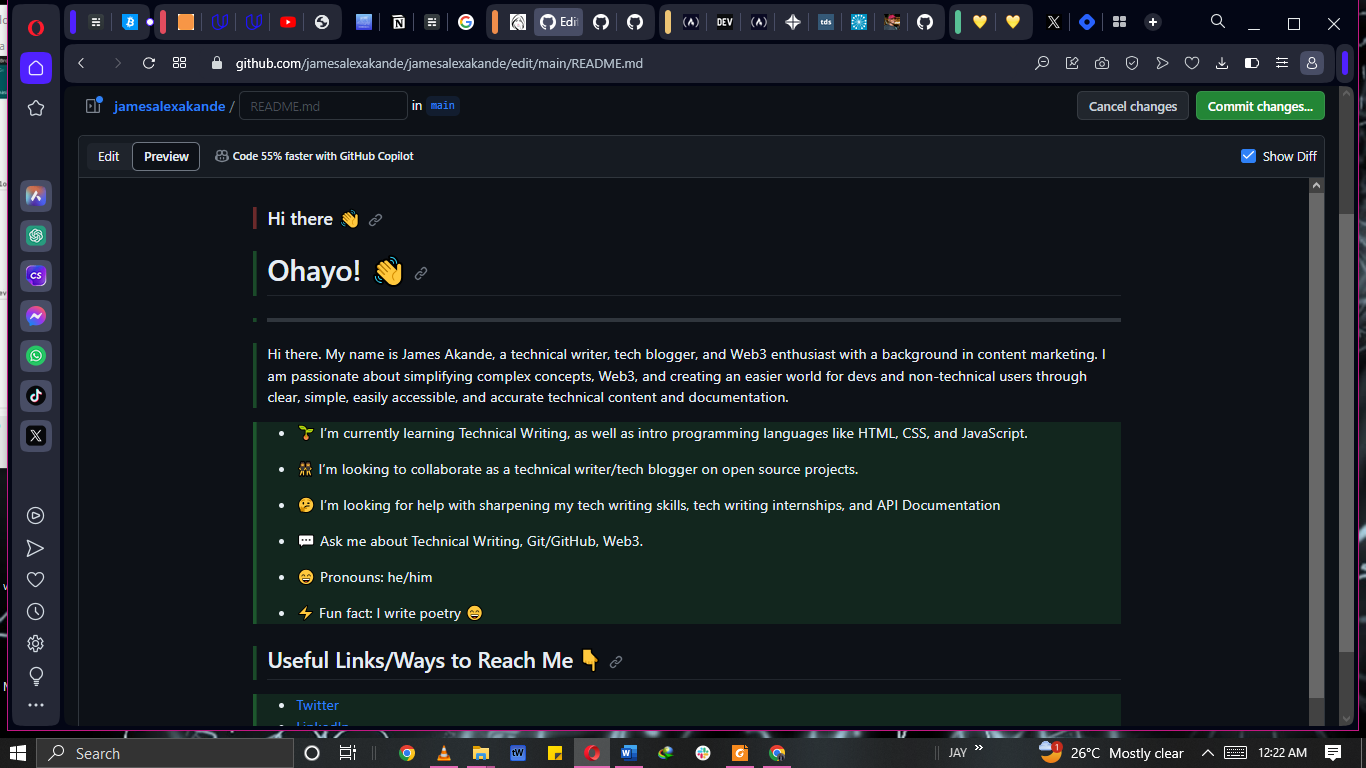
GitHub’s Markdown editor comes with the option to preview before committing (think of a commit as a way Git takes a record or a snapshot of your update before pushing it), so you can see the effect of your changes in real-time. Again, if you’re unfamiliar with Markdown, check out this simple tutorial here. it’s pretty easy to catch on to.
While creating my profile README, I wanted to do something simple but cool. I found a blog post by Idris Olubisi on creating a profile README (see the section on extra resources) that was helpful as he shared a lot of GitHub profile screenshots from prominent developers or developer advocates. Also, I needed help with adding emojis, so GitHub docs referred me to an emoji cheat sheet by WebFx (also see extra resources), which enables me to copy any emoji (or the code of said emoji) directly to GitHub.
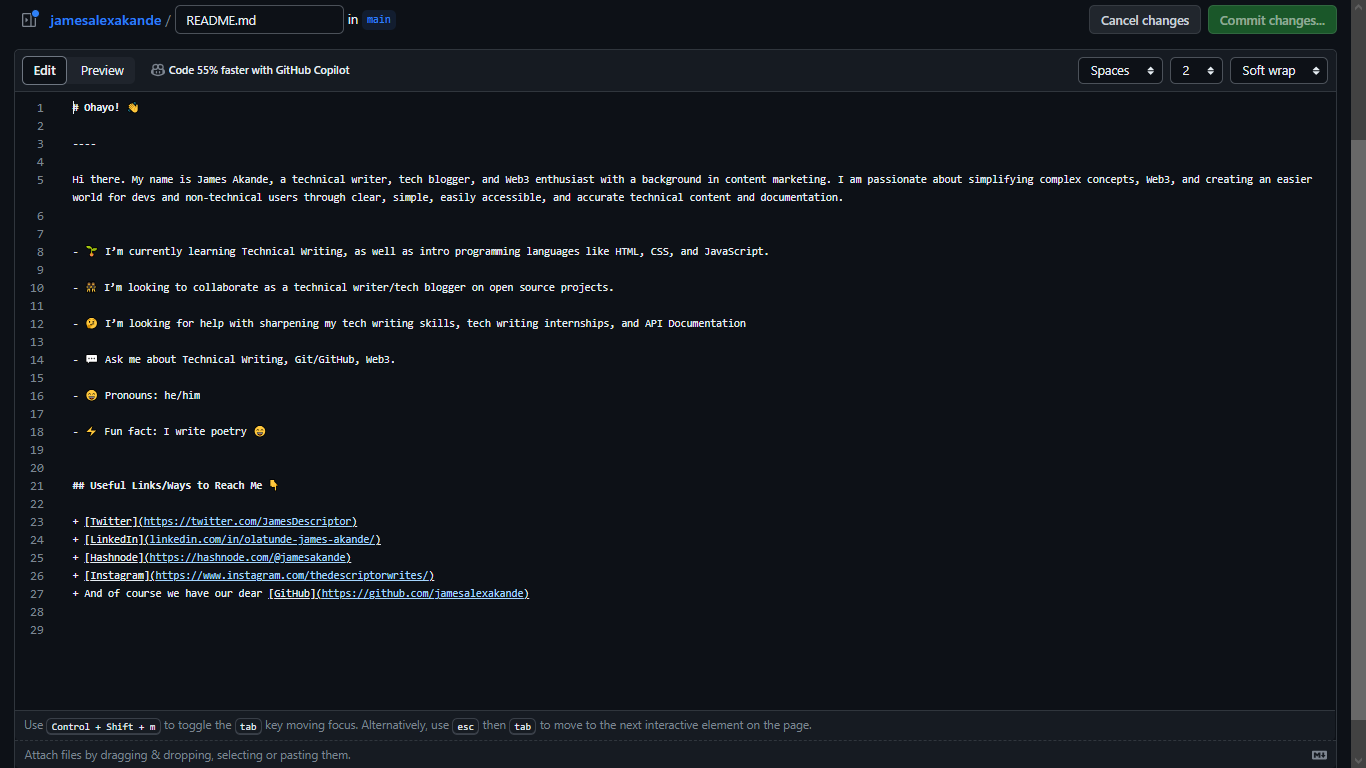
My finished profile in Markdown, after adding basic info, looks like this:
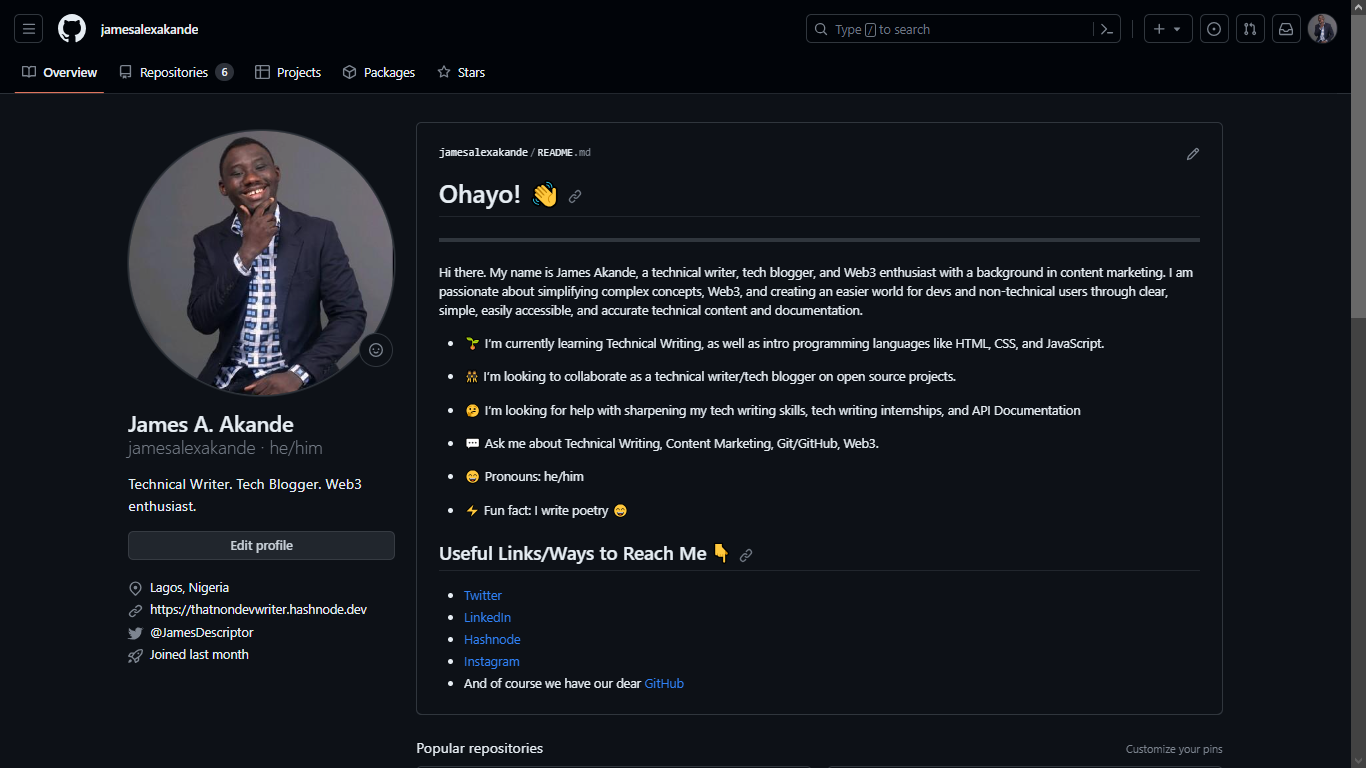
Here's what the preview looks like:
Once you’re satisfied with your changes, click Commit Changes. A popup will appear where you can edit the commit message (what the change you did was about), and the extended description; where you should write a summary of what you just did (such as Created my profile README).
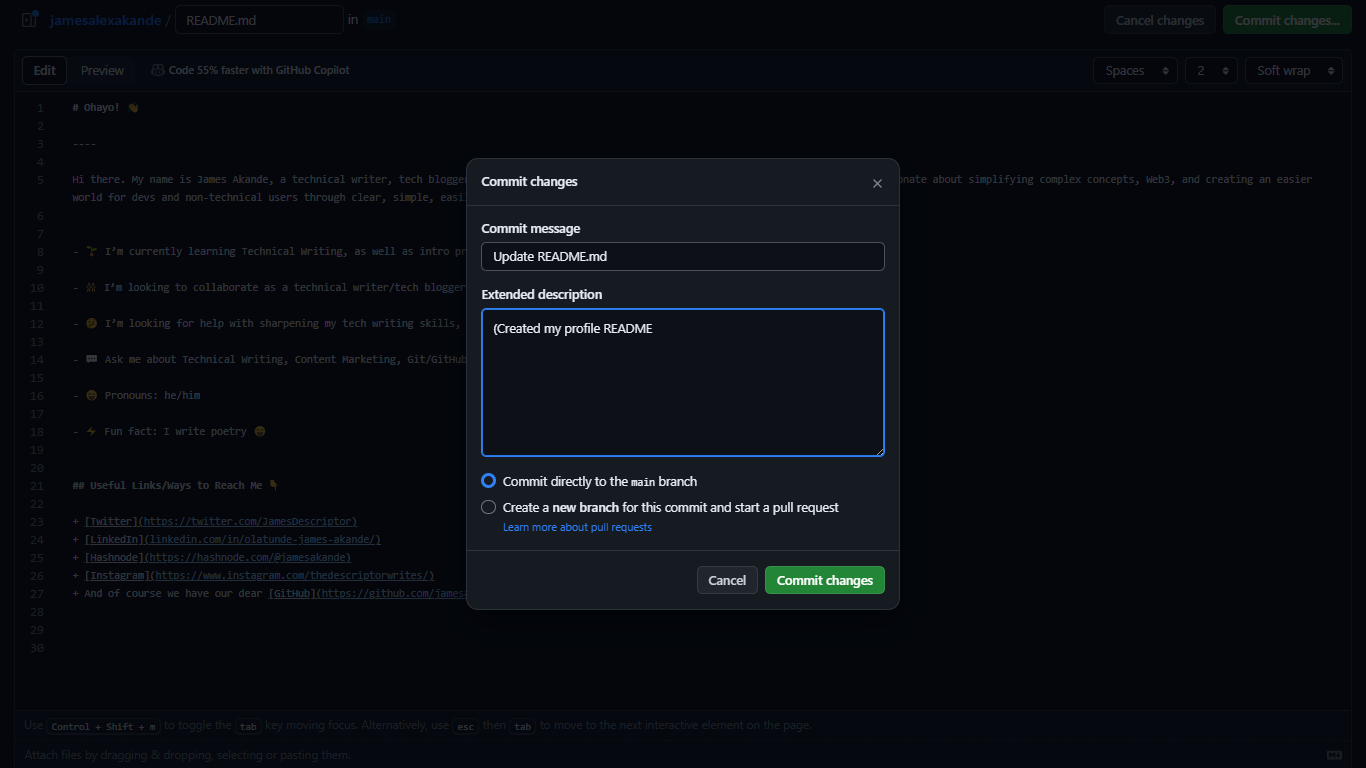
Once done, leave the selection at push to main branch, and click on commit changes.
That’s it – you’re done! Your GitHub profile is ready to go, and now anyone who clicks on your profile will see your profile README!
Endnotes
Congratulations! You just created your profile README, a way of introducing yourself to anyone who comes across your GitHub.
While there are other ways to make this GitHub profile README more stylistic and interactive - including adding statistics, programming languages, GitHub badges, etc., that is not the purpose of this guide. The purpose of this guide is to create a basic, simple and cool profile using GitHub. Materials that deal with these other ways are referenced in the ‘Extra Resources’ section.
See you!
Extra Resources
More stuff on setting up a profile README:
https://blog.idrisolubisi.com/how-to-add-a-readme-file-to-your-github-profile
https://javascript.plainenglish.io/how-to-create-an-awesome-github-profile-readme-a474d5b45645
https://www.eddiejaoude.io/course-github-profile-landing (A free course on GitHub Profile README. Teaches how to set up GitHub, Markdown essentials, and other tips)
Emoji cheat-sheet:
- https://www.webfx.com/tools/emoji-cheat-sheet/ (Emoji cheat-sheet)
Other Markdown resources: